Showing posts with label collage. Show all posts

Monday, October 23, 2017

Negative Space Collages

Negative Space Collages (Brick by Brick)

This activity is one we did in Vacation Bible School. The theme was a space theme so our exploration was similarly themed. But the "space" in this title doesn't refer to that theme but the space in the paper.

We cut moon shaped holes in paper. This space should be shaped in whatever way you choose. It could reflect another theme or just be a random shape...even just a wavy hole. Cut clear contact plastic to the appropriate size and cover the hole. 

Negative Space Collages (Brick by Brick)

Provide paper shapes for the children to place on the sticky paper. We had stars--some were cut from sparkly paper and some from just plain white paper. Children arranged stars as they chose in the opening on the paper.

Our children enjoyed exploring this different type of collage. Some covered the space fully while others arranged a few stars and were satisfied with the work.

Negative Space Collages (Brick by Brick)

When a child completed his collage, we placed another piece of clear sticky paper over the opening, sealing in the stars and covering all sticky areas.

We cut our shapes with scissors, freehand. But using a die cut machine or other cutter would speed up the preparation.

Negative Space Collages (Brick by Brick)

Try this different type of collage, mixing up the hole shapes and the paper that is used to fill it in.

Saturday, September 23, 2017

Sticky Note Collage

Sticky Note Collage (Brick by Brick)

Making a collage is a standard type of activity in preschool and kindergarten rooms. Assembling a lot of different materials to create a larger visual item is a time-honored art form. In fact it is so familiar that often we overlook it as a creative endeavor. But preschoolers still enjoy making collages and experimenting with this visual art form.

In our art camp last summer, we created a collage with sticky notes. These collages were group efforts with different colors, sizes, and shapes of self-stick notes. We got most of our notes from the dollar store.

Sticky Note Collage (Brick by Brick)

We used our magnet boards as a base for the collages. But you could use large pieces of paper. Or even create the collage directly on a wall.

Sticky Note Collage (Brick by Brick)

Sticky Note Collage (Brick by Brick)

This activity is great for all ages of preschoolers. Since no glue or other adhesive is involved, younger preschoolers can easily enjoy doing this activity. And our pre-kindergartners and kindergartners really enjoyed it, too.

Sticky Note Collage (Brick by Brick)

Just make sure you have lots of notes on hand!

Sticky Note Collage (Brick by Brick)

If you leave the collage out for several days, preschoolers can add to it or rearrange it. They can take notes off and replace them later.

Sticky Note Collage (Brick by Brick)

Add even more creativity with pens or markers. Children can draw or write on the notes before or after sticking them on the collage.

Wednesday, September 14, 2016

5 Ways to Make a Collage


Making a collage is simply gluing a variety of materials together to create something. Here are 5 different ways to create collages in a preschool or kindergarten classroom.

1. Use stickers.
Provide a variety of stickers and paper. Kids can pull stickers and arrange them in a design. We've used foam stickers, shape stickers, jewel stickers, and picture stickers. We've used paper strips, larger pieces of paper, and one large piece of paper to make a group collage.


2. Use tape.
Provide colored tape and paper. Kids can stick strips of tape on a piece of paper. Or they could use tape to stick smaller pieces of paper together to create a larger design.


3. Use contact plastic.
Cut squares of clear contact plastic. Peel the backing off and lay on the table sticky side up. Kids can arrange paper onto the sticky paper. Place another piece of clear contact plastic on top of the collage when the kids finish. If you use tissue paper, the finished collage can be hung in a window as a sun catcher. If you use felt, kids can reposition the materials or remove them entirely.


4. Use hot glue gun.
Using a hot glue gun allows kids to use recycled items (like lids) or harder-to-glue items (like wooden shapes). We used a paper plate as a sturdier base. (It's more rigid than construction paper and holds the hot glue better.) You could also use poster board or cardboard as a base or pieces of those for collage materials.


5. Use self-stick notes.
Self-stick notes come in all shapes, sizes, and colors. These make great materials for collaging. Use the notes on a wall or large board (for temporary designs). We used our oil drip pan magnet board. Or make the collage on pieces of paper for kids to take home. These can be repositioned or removed as kids change the design.


Of course, you can also use paper scraps, paper shapes, or paper strips with scissors, and glue sticks.


Check out these related posts---
Water Bottle Collages
Recycling Our Art
Mini Trash Cans


How have you made collages with preschoolers?

Wednesday, July 20, 2016

Art Outdoors

In our Art Camp this summer, we talked about artists and we explored all kinds of art. In our schedule we wanted to include some outdoor time. After all, who doesn't enjoy a little playground time? But we wanted to have some art experiences outdoors, too. Since each day had an art "theme," we tried to keep with those ideas. Here's what we did.

Painting Day
On this day, we had two types of experiences.


1. Flyswatter Painting - Dip flyswatters in paint and hit the paper.
I've always wanted to do this but really didn't have the right situation. Until now. Kids enjoyed this.
My takeaway: Set up several stations so more kids can do it at a time.


2. Spray Painting - Pour liquid watercolor in spray bottles and spray away.
Kids enjoyed this, too. I've done this once before indoors. Never again. Or now without lots of surrounding structure. Outdoors, this was perfect.
My takeaway: Fill up the bottles with paint and bring more for backup.

Overall, we just wanted more.

Drawing Day


An old stand-by was the feature for us - drawing with chalk. We drew on the floor of the picnic pavilion outside the playground. We also had spray bottles of water and paintbrushes with buckets of water to make our drawings "disappear."


My takeaway: Chose a "canvas" that will be exposed to the rain or that no one will care has lots of chalk lines. Our art left some residue behind. (And I was out painting with water for a while after camp was over.)

Collage/Sculpture Day


We made a collage/sculpture on the fencing around the playground with plastic cups. It really looked like an art installation after we were finished. I liked the "come and go" nature of this activity. Kids would place one or two cups and then leave; later they would come back and add another one. Other kids would play on the playground for a while and then try the art. And others stayed with the art for a longer while.


My takeaway: Try the materials first! (I tell people this all the time and then I didn't do it.) The cups we had were a little too large for the fence. Kids had to work to get them to stay in. It was a great motor activity but a little frustrating for some of them.

Removing the "evidence"

Art belongs outside as well as inside. What art experiences have taken you into the great outdoors?

Wednesday, October 14, 2015

Organized or Mixed Up?

I'm not a very organized person. Well, let's face it; I'm a mess. I have lots of stuff and sometimes I'm in a hurry so things get piled and tossed and then I lose more time trying to find that one thing I know is in a pile.

I try to keep all my teaching stuff in some semblance of order but since my sickness appears regularly, things occasionally get out of hand and I pile up all kinds of materials.

One thing that I've been able to keep relatively organized and separated are some of our collage materials. Of course, I do have bags of mixed materials; you never know how those juxtapositions of colors and textures can trigger creativity. But we needed separate colors for a particular activity at one time and I've keep some bags of materials separated by color.

heart rainbow collage (Brick by Brick)

As I watched kids use these materials recently, I thought about the issue of presentation and invitation - how we display or offer materials can change how kids use them. I watched kids purposefully choose colors or switch to different colors. I saw kids find "glittery" paper in one color and actively search for similar paper in another color.

heart rainbow collage (Brick by Brick)

The creations became more purposeful. Kids were not just finding whatever they could in a mixed bowl of miscellany. They were choosing to use purple or blue or yellow. The organization and presentation gave the kids more control, more choice, and more possibilities.

I don't think my naturally chaotic tendencies will change. I've been this way for a long time. But as I see kids interact with materials, as I see their differing play when offered different presentations, as I learn more about the group I have now and my best ways to be their teacher - I will try to be more organized.

Or at least more purposeful in when things are presented in a more orderly way and when in a more relaxed way. After all, my actions will impact their play.

Monday, June 18, 2012

Experimenting with Punches

A few weeks ago, we were making mountain collages. I put out the hole punches and scissors so kids could create pieces to glue on their mountain shapes.


We haven't used the punches much, so we had a quick tutorial on what to do - insert paper in the slot, make sure it's all the way in, punch, move over so you have enough paper to punch again, etc.

We made some great collages.


But we had lots of paper shapes where the kids just wanted to practice and experiment with the punches.


So the next week I put out the punches in the writing center. They began experimenting again.


We started having lots of shapes that no one really wanted to use or keep. So I put out a cup. "If you don't want the shapes," I said, "place them in here." Kids dropped shapes in the cup throughout the morning. I was surprised that they didn't want to keep them or use them in a project.


They were just interested in using the tools. These are hole punches I got on sale in the scrapbooking section of a craft store. Not really tools for kids.


Real tools - just the thing for kids! I was reminded that kids need time to explore and experiment. Sometimes my end goal is not their end goal. Making a collage wasn't as important (to them) as exploring the paper punches and how they worked. So I put them out again so they could explore.


At the end of the day, I had a cup with hearts and stars. Of course, I can't toss anything. But what to do with them? I dumped them in my shredded paper bag - so the next time we use shredded paper to dig through, the kids will find some shapes, too.


Tuesday, April 10, 2012

Letter Mosaics

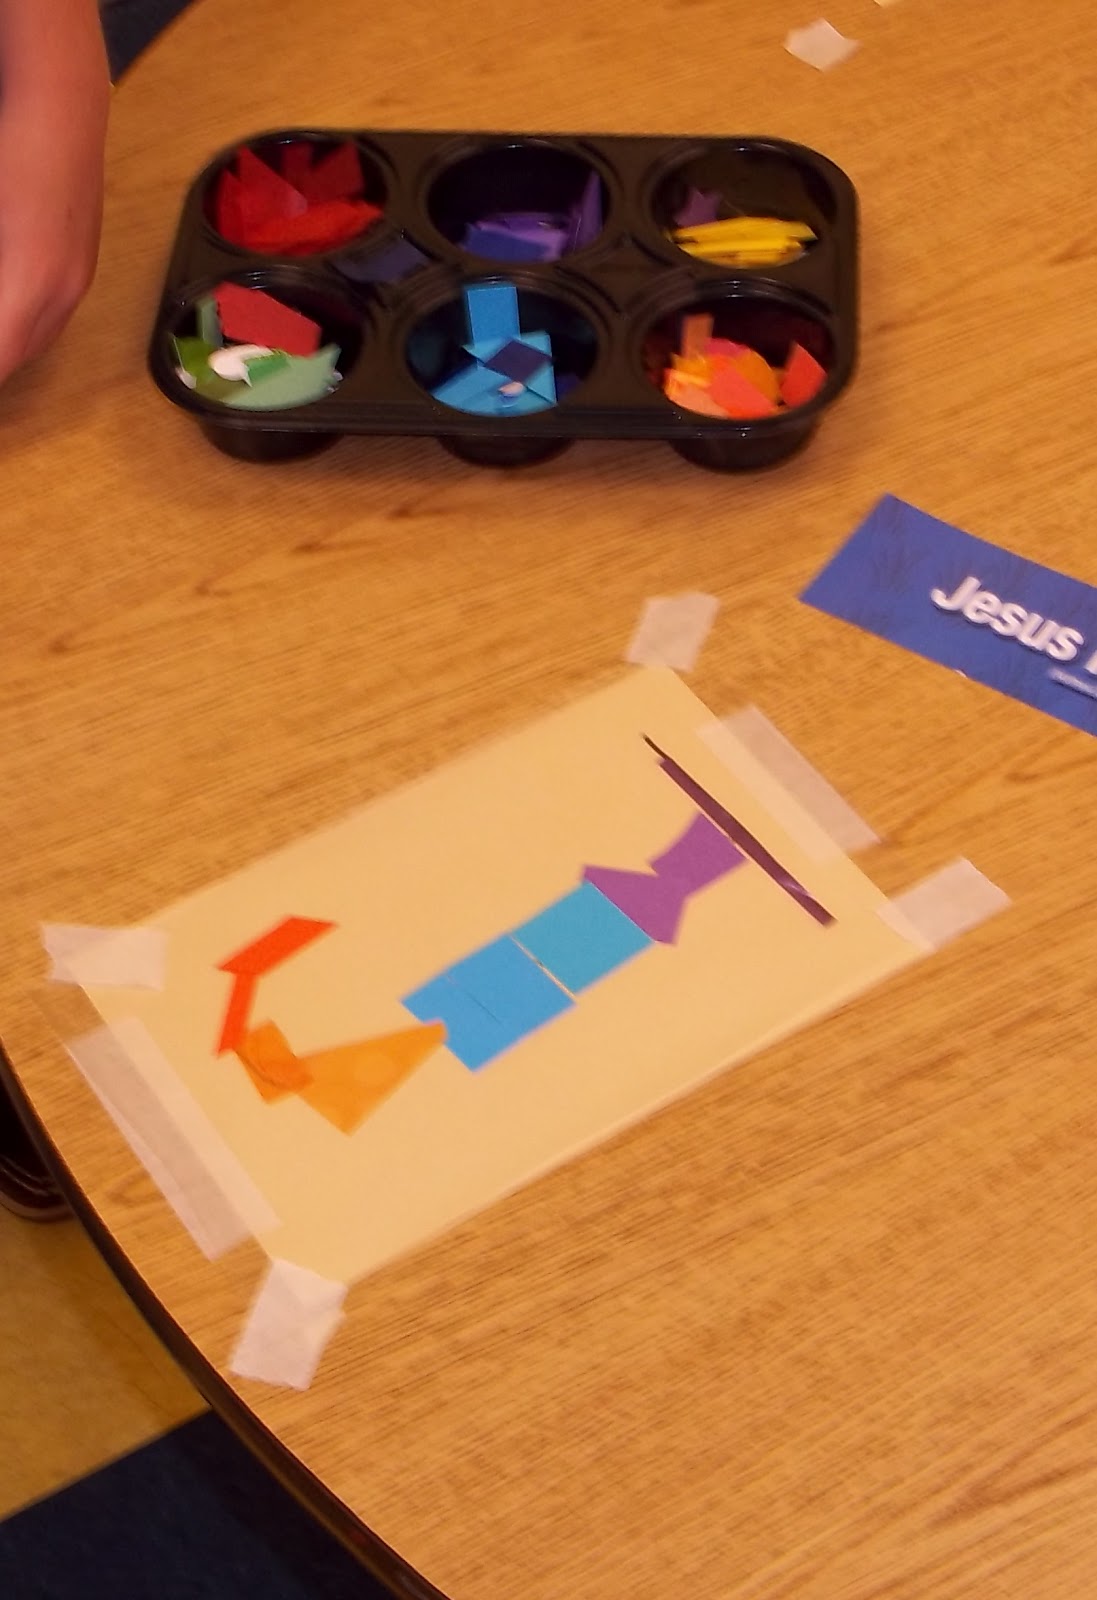
This week we made letter mosaics. Since we were talking about Easter and Jesus, we all made "J" mosaics. On a piece of paper we made a large J (for each place) and taped the letter to the table. Then we placed a piece of sticky paper over the letter, sticky side face up. (We taped the corners to keep it in place.)


Using a variety of colors, each child placed paper on the letter outline.


Of course, the kids could do whatever they wanted...and the J's all looked different.


When the kids were done, we put another sticky paper on top to seal the pictures in.


Any letters, words, or other designs could be used for this technique. I was pleased at the creativity and inventiveness of the kids.

One things I didn't like about this particular activity--it created a lot of work for me. I spent a lot of time pulling the backing off the sticky paper and covering completed pieces. Untaping completed work and taping down new sticky paper for another child. I'm not sure how to get around this. But I liked the results and want to try it again.